


How to use Cable Systems to Create a Dramatic Window Display
Using cable systems for window art displays is a modern and innovative way to showcase your artwork in a dynamic and engaging way. With a cable system, you can create a visually striking display that will draw the attention of passersby and add interest to your storefront or gallery window.
To create a cable system for your window art display, you will need a few key items, including:
-
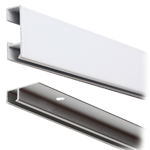
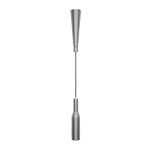
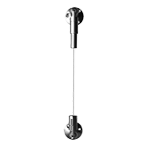
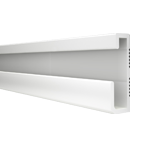
Cable: The cable will be the main structure of your display, and it will hold your art pieces in place. You can choose from several different types of cable, including steel, stainless steel, and plastic-coated cable. The type of cable you choose will depend on the weight of your art pieces and the desired aesthetic of your display.
-
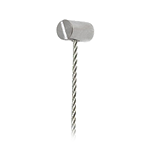
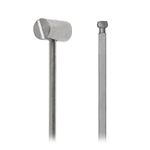
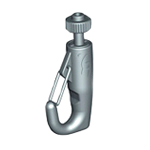
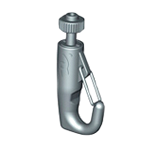
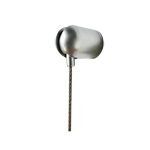
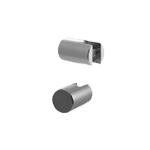
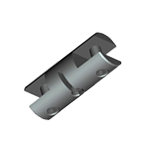
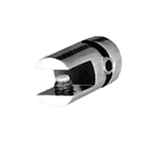
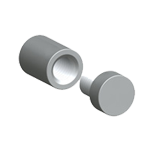
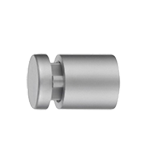
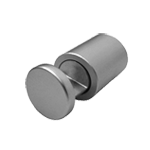
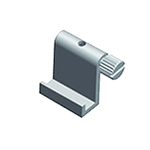
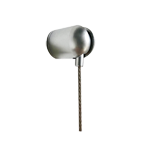
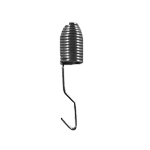
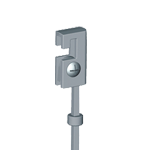
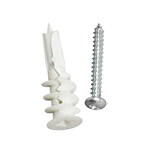
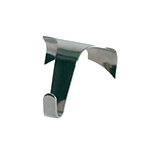
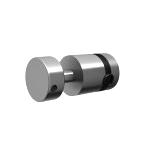
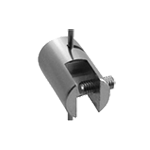
Cable fittings: To connect the cable to your window and to hold your art pieces in place, you will need various cable fittings, such as cable clamps, turnbuckles ( used to adjust tension and reduce slack), and cable ties. These fittings will allow you to adjust the tension of the cable and to securely attach your art pieces.
-
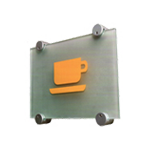
Art pieces: The art pieces you choose for your display will be the focus of your window art display, so it's important to select pieces that are visually striking and that will appeal to your target audience. You can use a variety of art mediums, including paintings, photographs, and sculptures. Stained glass pieces can be especially striking when displayed this way.
Once you have all of the necessary items, you can start to create your cable system window art display. Here are the steps to follow:
-
Measure your window: Before you start setting up your cable system, it's important to measure your window to determine the size and layout of your display. Measure the width and height of your window, and take note of any obstructions, such as window frames or handles.
-
Plan your layout: Based on the measurements of your window and the size and shape of your art pieces, plan the layout of your display. Consider the placement of your art pieces and the amount of space you want to leave between each piece. You can create a sketch or use a design software to visualize your layout.
-
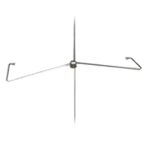
Install the cable: Once you have your layout planned, it's time to install the cable. First, attach the cable to your window using the appropriate cable fittings. Use turnbuckles to adjust the tension of the cable and to ensure that it is level. Then, attach the cable to the opposite side of the window in the same way.
-
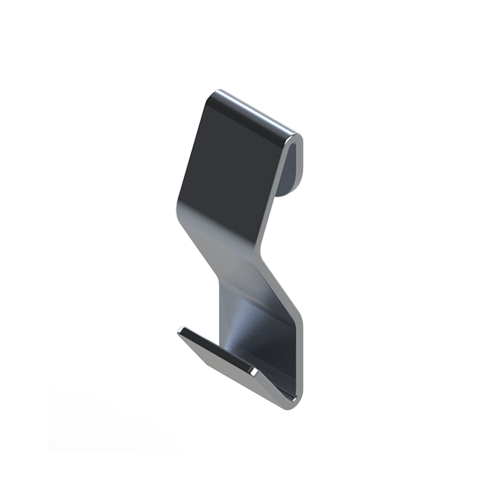
Attach your art pieces: Once the cable is in place, you can start attaching your art pieces. Use cable ties or cable clamps to attach your art pieces to the cable. Make sure to adjust the tension of the cable as needed to ensure that your art pieces are securely held in place and are evenly spaced.
-
Adjust and refine your display: Once all of your art pieces are attached, take a step back and assess your display. Adjust the placement of your art pieces and the tension of the cable as needed to create a visually balanced and aesthetically pleasing display.
With a cable system, you can create a dynamic and eye-catching window art display that will draw the attention of passersby and showcase your artwork in a unique and engaging way. By following these steps, you can create a professional-looking window art display that will impress your audience and enhance the appearance of your storefront or gallery. If you find yourself needing any of these materials, or wish to learn more about dynamically displaying your art, visit Systematic Art at https://systematicart.com/ for everything from individual materials to ready-to-hang starter kits, or directly contact us.