


How to Hang Art without Damaging Your Walls
Hanging art on the walls of your home is one of the best ways to personalize your space and add color to your home. You may think that decorating a home with visual art will inevitably cause damage to the walls.
It can be frustrating to try and hang artwork and find you’ve hung it at the wrong height, made dents in a wall by missing a nail with a hammer or torn drywall because the artwork is too heavy. Here’s how to hang art without damaging your walls.
Plan ahead
Preventing damage starts long before you take a hammer to a wall. Planning ahead and ensuring you hang the artwork at eye level ensures it is always possible to see it without having to look up or down at the wall.
This enables people to fully experience art’s effect on the brain which is as powerful as looking at a lover, according to Virtosu Art. It, directly and indirectly, affects brain wave patterns, emotions and the nervous system, as well as raising serotonin levels.
Pick your wall space
Pick the space where you want to hang your art. It helps if you cut a piece of paper the size and shape of the artwork and tape it to the wall. You can then make sure it works in the space and with other pieces on the wall. It also provides a handy blueprint for where to put a nail or hook.
Consider the wall material and weight of the artwork
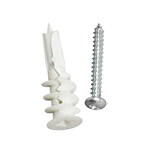
The material a wall is made of matters as drilling into brick, plaster or tile will be different. Different wall types require different types of material and hardware to properly hang art.
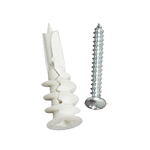
A large, heavy artwork often requires heavy-duty eyelets or screw anchors to prevent any damage to the wall. Light pieces of art may only need small nails or tacks.
Find the studs in the wall
If you’re hanging a heavy piece of art, it is important to locate the studs in the wall or your most valuable artwork may just come crashing down.
Janet Clarke who works as an interior designing blogger who worked for Essay Help the UK too, says that even if you’re hanging a lighter piece, it is worth using a stud finder to mark where the studs are so you won’t have to worry about this in the future. Just make a mark with a pencil where the studs are at the top of a wall where it meets the ceiling.
Purchase the right materials and tools
Depending upon the type of wall, different types of materials may be required to offer the best result. Do not use wood screws in drywall or drywall screws in wood. Go to the local hardware store and find the right type of materials for the type of walls and the size and weight of artwork you want to hang. Using the wrong materials or tools is likely to lead to artwork crashing to the floor.
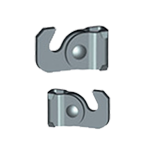
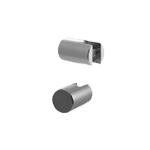
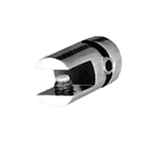
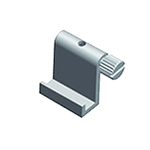
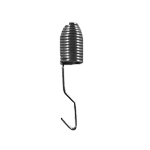
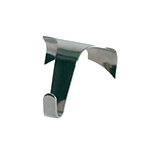
Brick clamps
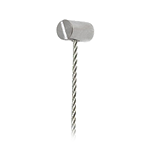
Matt Dillon is a DIY woodwork enthusiast and works for an online assignment help full-time. In his view, drilling into a brick wall is not the best option. Rather use brick clamps from a local hardware store.
The size of the clamp depends on the brick height. The clamp’s teeth wedge into the mortar at the top of the brick and a bottom prong stabilizes it against the bottom of the brick. You hang artwork from the hook on the clamp. This method is best for lighter artwork.
Adhesive products
When using adhesive products, be sure to check the weight rating for the product and do not be afraid to use multiple strips or hooks.
Adhesive strips: These work well for hanging light pieces of art. The adhesive strips go on easily, cure quickly and in most cases, they can be removed without damaging the walls.
This is a huge benefit if you don’t want to take the risk of drilling or hammering nails into the walls. They work well if you have light frames with photos or printed posters in them. They are not really suited for solid wooden frames or larger artworks. To use adhesive strips:
- Remove any hardware attached to the back of artwork that prevents it from hanging flat against the wall.
- Clean the frame and wall area with isopropyl alcohol and a clean cloth. Allow to dry.
- Remove the paper liner and attach the adhesive side of the strip to the back of the artwork. Hold it for about 30 seconds. Lightweight artwork will probably only need a strip positioned at the top center. A medium-weight piece may need a strip at each top corner.
- When the strips are fixed, gently pull on the bottom corners of the picture and lift to separate the wall strips. Press on the wall strips with your fingers for about 30 seconds.
- Wait an hour and then replace the artwork when the strips have had enough time to attach to the wall properly.
- Clean the wall with isopropyl alcohol and a clean cloth. Allow to dry.
- Remove the paper liner from the back of the adhesive, and press it firmly against the wall for about 30 seconds.
- Let it set for about an hour before hanging your artwork on the hook with the hardware attached to its back.
- Make sure you mark off where you need to hammer nails or drill holes for brackets before you try to hang a piece.
- Use a ruler with a straight edge or a level to make sure the sides are level before you hold the artwork up to the wall.
- Mark the halfway point between the top and bottom of the art, the edges, and all the sides.
- Mark where the art will go and that it is level and well-spaced from other pieces. As mentioned before, it is possible to use paper rather than trying to hold art up to the wall while trying to mark or drill holes. Put the art on the floor and on top of some paper and cut it to size. Use the sheet of paper as a guide to tape to the wall to make and even drill holes without worrying about doing it in the right place.
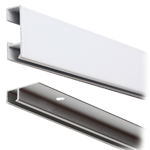
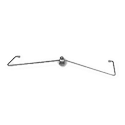
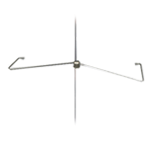
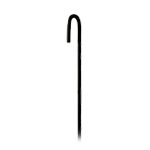
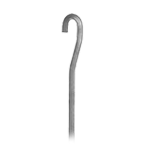
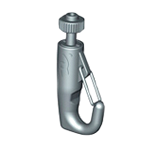
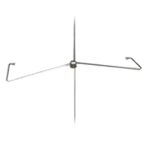
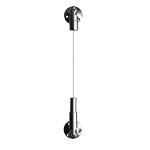
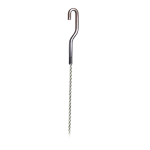
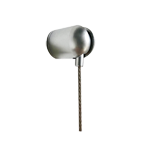
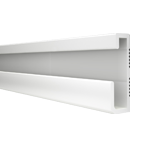
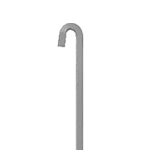
- Historic homes may have a great picture rail molding along the tops of walls. This allows you to hang art with S-shaped hooks that fit over the rail and decorative craft wire that you can adjust to get the art hanging exactly where you want it.
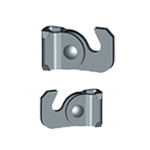
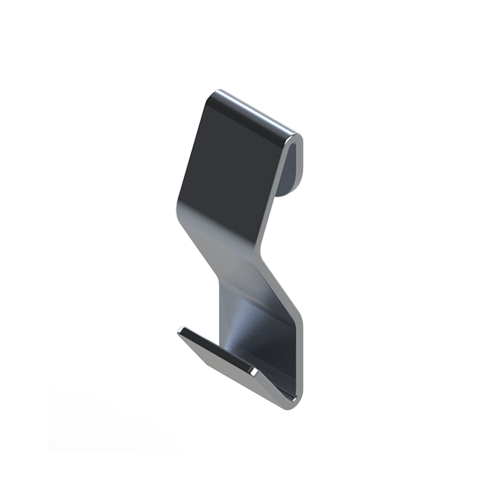
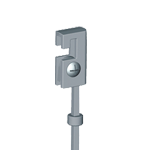
- Pegboards are already filled with holes so you do not need to make any of your own with a hammer. Pegboard hangers are available to which you can hook the back of a frame.
- Layering framed pieces of art on a dresser offers any easy way to add texture to a home and will get plenty of eyeballs.
- Easels do not just have to be used for art in progress. If there is a special artwork you love, placing it on an easel can make an unusual way to display it.
- Fireplace mantels provide another place to show off dramatic artworks. If the fireplace is regularly used for fires, this may not be a good idea as the temperature could damage the artwork.
- Bookshelves can be used for displaying small art pieces. They can become multi-level showcases for art. Bookcases with adjustable shelf options allow you to choose from many configurations.7
- Putting pieces of masking tape on the back corners of frames keeps them from rubbing against the wall and possibly rubbing off the paint.
- A bumper between the wall and the artwork helps to allow natural airflow.
- Monitoring room humidity and temperature are important when it comes to protecting artworks. Humidity should be about 55 percent and room temperatures within normal ranges.
- If you are not sure about which adhesive strips to choose, a good rule of thumb is to use ones that hold more weight than you think you need.