


Installing Systematic Arts Slim-Line Rail:
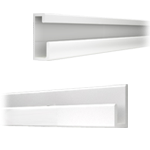
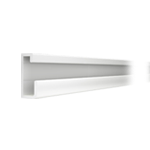
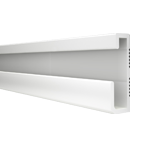
The Slim-Line Picture Rail from Systematic Art offers a clean, contemporary way to hang artwork and photos without damaging walls. Designed for residential and office use, its minimal profile blends into any decor while offering strong, flexible hanging support
?️ Tools & Materials You’ll Need
- Tape measure
- Pencil
- Level (24” or longer)
- Power drill with 3/16" bit
- Screwdriver or impact driver
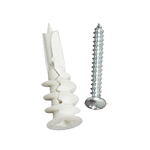
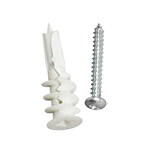
- (6 to 8) No.6 screws with wall anchors (if installing into drywall)
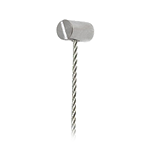
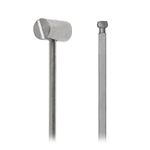
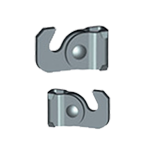
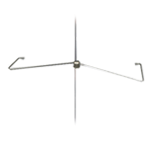
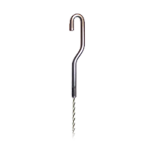
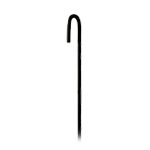
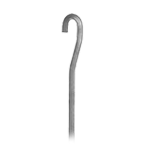
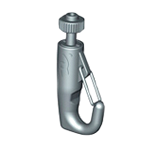
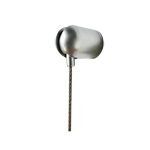
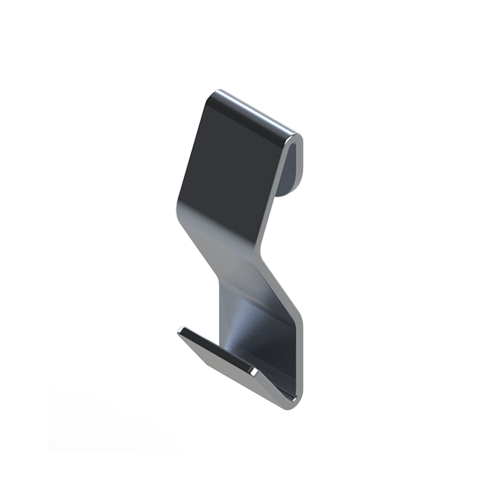
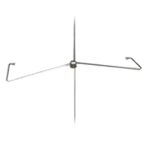
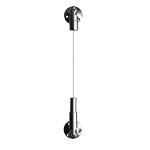
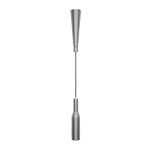
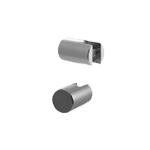
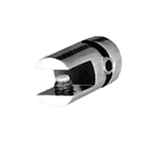
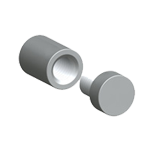
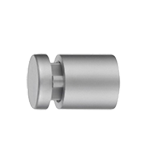
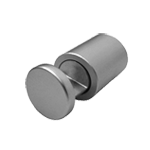
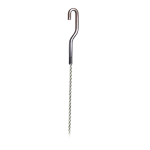
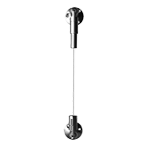
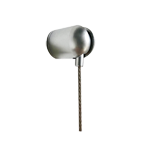
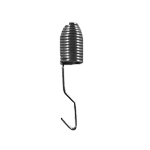
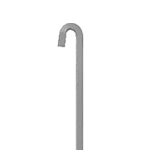
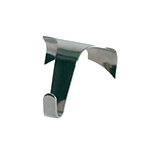
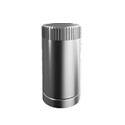
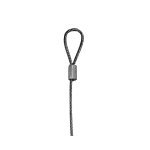
- Slim-Line compatible cables or rods + hooks
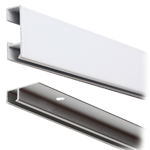
? Product Overview (from SystematicArt.com)
- Rail Length: 72" (6 ft / 182.88 cm)
- Height: 7/16" (11 mm)
- Profile Depth: 9/16" (14 mm)
- Material: Anodized Aluminum (matte silver, black, or white finish)
- Weight Capacity: 65 lb (29.5 kg) per rail
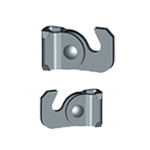
- Mounting: Wall-mounted using No.6 screws through pre-drilled holes
- Use Case: Ideal for homes, offices, studios, and minimalist displays
? Step-by-Step Installation
Step 1: Choose Location & Mark Drill Points
- Determine the best placement—usually 1-2" below the ceiling or crown molding.
- Hold the Slim-Line rail in position.
- Use a level to ensure perfect alignment.
- With a pencil, mark through the pre-drilled holes onto the wall (typically 6 to 8 anchor points).
Step 2: Drill and Anchor
- Use a 3/16" drill bit to create holes at the pencil marks.
- If mounting on drywall, insert appropriate wall anchors so they sit flush.
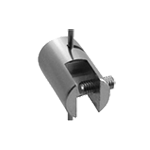
Step 3: Screw Rail into Place
- Line up the rail with the drilled holes.
- Insert No.6 screws through the rail and into wall anchors.
- Tighten screws until rail is firmly secured and flush with the wall.
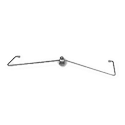
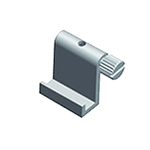
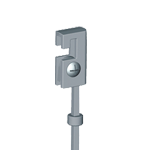
Step 4: Insert Hanging Cables or Rods
- Insert your selected cable or rod into the open channel of the rail.
- Use compatible Slim-Line cable hooks or rod hooks.
- Let them hang freely to the desired length.
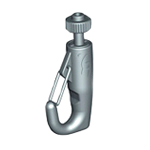
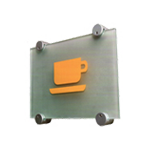
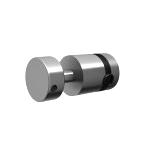
Step 5: Attach your picture hooks to the Hanging Cable or Rod
- Attach art to the hook.
- Adjust height by sliding the hook or adjusting cable length.
- Fine-tune horizontally by repositioning the cable in the trackStep 6: Hang your pictures
Best Practices & Tips
- For clean aesthetics, match rail color to your wall.
- Use clear nylon cables for lighter, invisible hanging; stainless steel for weight.
- For gallery walls, install rails across the full width.
- Leave cables longer than needed initially, then trim after art placement.
? Slim-Line Installation Video (Coming Soon)
Systematic Art’s video guide is coming soon. Check their video library for the latest updates.
✅ Quick Install Checklist
Step Description Tools Needed 1 Mark hole locations Pencil, Level 2 Drill and install anchors Power drill, anchors 3 Screw rail into place Screwdriver, screws 4 Insert cables or rods Slim-Line hook system 5 Hang and adjust artwork Artwork, adjustments For more Slim-Line hanging accessories, hooks, and cable options, visit SystematicArt.com.