


Installing Systematic Art’s Gallery Picture Rail: A Step‑by‑Step Guide
Below is a complete step‑by‑step installation guide for Systematic Art’s Gallery Picture Rail, using official imagesfrom the product page to ensure accuracy.
?️ Tools & Materials You’ll Need
-
Level (long enough for 6 ft rail)
-
Tape measure & pencil
-
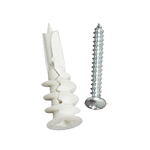
Drill + No.6 drill bit
-
Screwdriver or driver bit
-
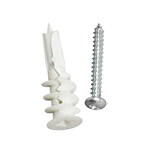
(8) No.6 screws and suitable anchors (drywall, concrete, brick based on surface)
-
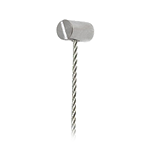
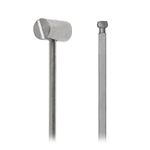
Hanging cables or rods plus the compatible hook type for your choice: cable hook or rod hook
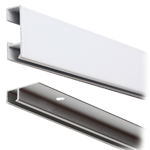
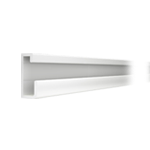
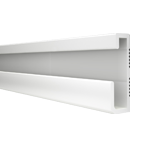
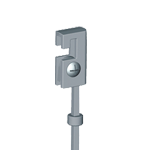
? Product Overview
-
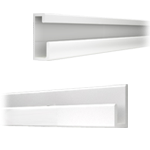
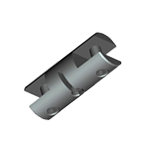
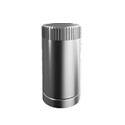
Wall-mounted aluminum rail, 6 ft (182 cm) in length, 23.6 mm height
-
Rated to support up to 175 lb (79 kg) when properly installed
-
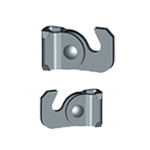
Comes with eight pre‑drilled countersunk holes
-
Compatible with cables, cable rods, or picture rods, offering versatility and tension-hung systems
? Step‑by‑Step Installation
Step 1: Position and Mark the Rail
-
Hold the Gallery rail close to the ceiling, ideally just beneath crown molding or about 2 inches down from the ceiling. This placement looks clean and maximizes wall-use area
-
Use a level to ensure the rail is perfectly horizontal.
-
Mark all 8 hole locations through the pre-drilled holes and double-check spacing and level before moving on.
Step 2: Drill Pilot Holes and Insert Anchors
-
Drill at each mark using the correct bit: drywall, masonry or wood as applicable.
-
Push suitable anchors into each hole so they sit flush with the wall surface.
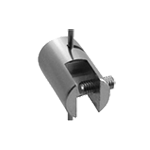
Step 3: Mount the Rail
-
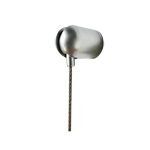
Align the rail with marked holes; insert all No.6 screws and tighten until flush.
-
Fully seat the rail against the wall—no gaps.
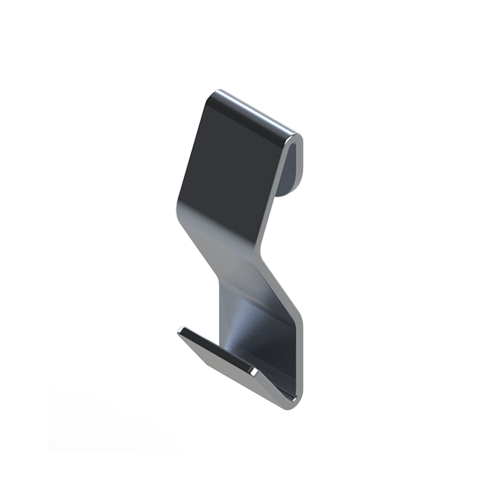
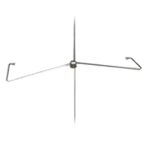
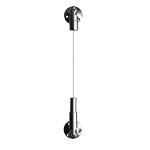
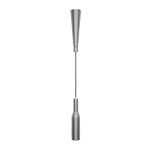
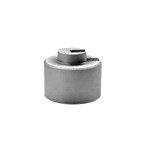
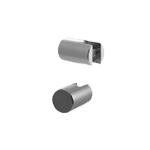
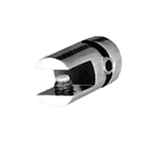
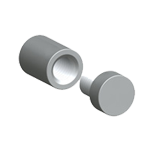
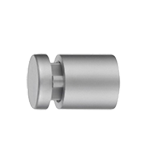
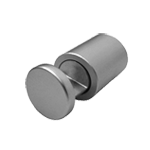
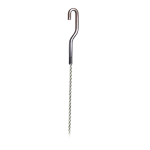
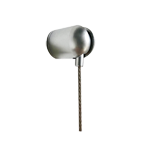
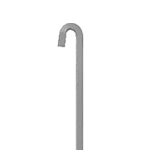
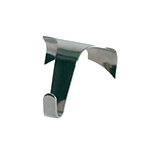
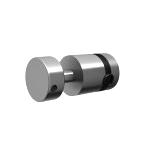
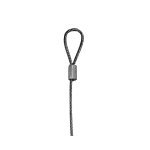
Step 4: Choose and Attach Cables or Rods and Hooks
-
Select your preferred hanging option:
-
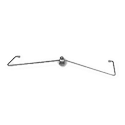
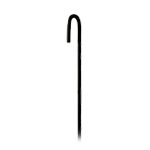
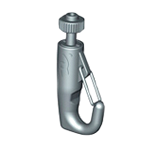
Cable (nylon or stainless steel) + cable hooks
-
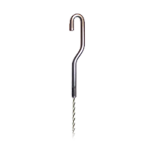
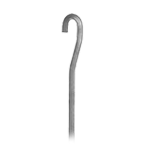
J‑bend rod + rod hooks
-
-
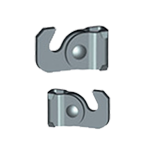
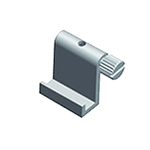
Slide the hook into the rail’s ledge slot—you’ll feel or hear a click as it seats securely
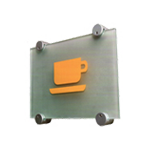
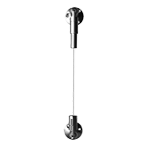
Step 5: Hang Artwork and Adjust
-
Attach your artwork (cable or rod) to the hook and let it hang.
-
Adjust vertically and horizontally as needed—this system enables easy repositioning without wall damage.
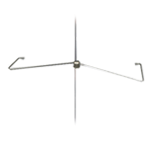
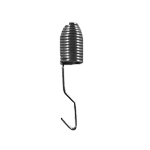
-
If building a tension display, install a second Gallery rail upside-down below the first, securing cables with a tension spring for floor-to-ceiling stability
? Pro Tips & Best Practices
-
Install across the full wall length for visual continuity and maximum flexibility systematicart.com.
-
Surface colour matching: if you’re painting the wall, applying matching paint to the rail helps it blend seamlessly.
-
Weight distribution: use compatible cable material and hooks rated for your artwork’s weight.
-
Ceiling height variation: on high ceilings, consider installing two rails (top and bottom inverted) for a tension system.
-
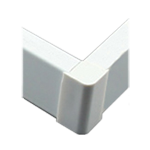
Finishing touches: use end caps or corner trims for a clean gallery look
✅ Quick Reference Table
Step Action Tools Needed 1 Align rail under ceiling, mark holes Level, pencil 2 Drill pilot holes and insert anchors Drill, anchors 3 Screw rail to wall with No.6 screws Screwdriver 4 Insert cables/rods & attach hooks Hanging cables/rods + hooks 5 Hang artwork and fine-tune Artwork, adjustment tools
- October 2024
- September 2024
- August 2024
- July 2024
- June 2024
- May 2024
- April 2024
- March 2024
- February 2024
- January 2024
- December 2023
- November 2023
- October 2023
- September 2023
- August 2023
- July 2023
- June 2023
- May 2023
- February 2023
- January 2023
- November 2022
- October 2022
- September 2022
- August 2022
- July 2022
- April 2022
- March 2022
- February 2022
- January 2022
- December 2021
- November 2021
- October 2021
- September 2021
- August 2021
- July 2021
- June 2021
- May 2021
- April 2021
- February 2021
- January 2021
- December 2020
- November 2020
- October 2020
- September 2020
- August 2020
- July 2020
- June 2020
- May 2020
- April 2020
- March 2020
- February 2020
- January 2020
- December 2019
- November 2019
- October 2019
- September 2019
- August 2019
- July 2019
- June 2019
- May 2019
- April 2019
- March 2019
- February 2019
- January 2019
- December 2018
- November 2018
- October 2018
- September 2018
- August 2018
- July 2018
- June 2018
- May 2018
- April 2018
- March 2018
- February 2018
- January 2018
- December 2017
- November 2017
- October 2017
- September 2017
- August 2017
- July 2017
- June 2017
- May 2017
- April 2017
- March 2017
- February 2017
- January 2017
- December 2016
- November 2016
- October 2016
- September 2016
- August 2016
- July 2016
- June 2016
- May 2016
- April 2016
- March 2016
- February 2016
- January 2016
- December 2015
- November 2015
- October 2015
- September 2015
- August 2015
- July 2015
- June 2015
- May 2015
- April 2015
- January 2014
- December 2013
- November 2013
- March 2013