


How to Install the Systematic Art Sky Picture Rail:
The Sky Picture Rail is a ceiling-mounted hanging system by Systematic Art, engineered for galleries, museums, and professional art spaces. Its clean, suspended look keeps walls untouched while securely displaying even the heaviest pieces. This guide walks you through a professional, easy-to-follow installation process.
What You’ll Need
-
Tape measure
-
Pencil or fine marker
-
Level (or laser level for long runs)
-
Drill with 3/16" bit
-
Screwdriver or driver bit
-
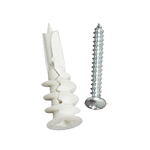
Ceiling anchors (toggle bolts or masonry anchors depending on surface)
-
No. 6 screws
-
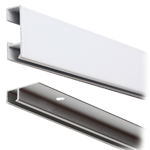
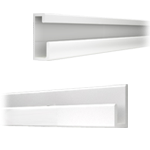
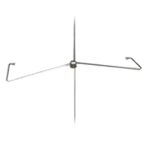
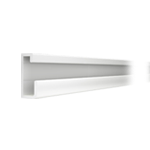
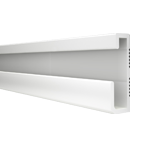
Systematic Art Sky Picture Rail (72")
-
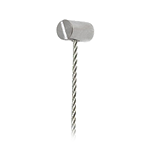
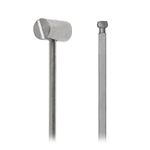
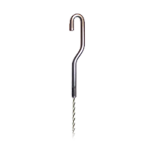
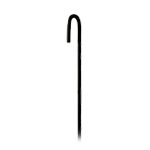
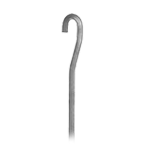
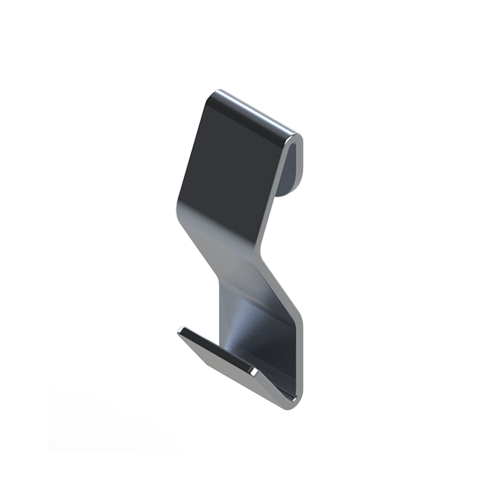
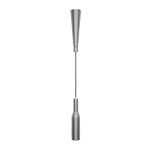
Cable hooks or rods
-
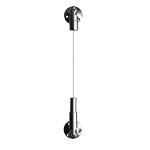
Stainless steel or nylon cables (as needed)
Product Quick Facts
-
Length: 72" (6 ft / 182.88 cm)
-
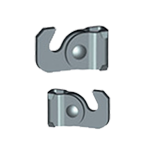
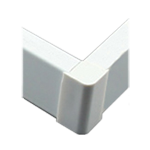
Mounting: Flush ceiling mount
-
Material: Extruded anodized aluminum
-
Weight Capacity: Up to 175 lb (79.3 kg)
-
Use: Ideal for drywall, concrete, or wood beam ceilings
-
Finish: Matte anodized (silver, black, or white)
-
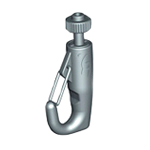
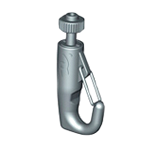
Compatible Hardware: Tension cables, J-hooks, adjustable hooks
? Step-by-Step Installation Instructions
Step 1: Choose Your Mounting Line
-
Decide how close to the wall your rail will be (typically 1–2 inches).
-
Use a level or laser line to mark the ceiling across the wall's length.
-
Align your Sky Rail to the line and mark screw hole locations.
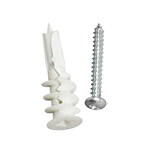
Step 2: Drill Holes & Insert Anchors
-
Drill 3/16" pilot holes at each mark.
-
For drywall, insert toggle anchors; for concrete, use masonry anchors.
-
Anchor spacing is typically every 10–12 inches along the rail.
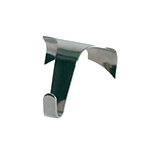
Step 3: Mount the Sky Rail
-
Align the rail over the anchor holes.
-
Use No.6 or No. 8 screws to secure the rail flush to the ceiling.
-
Confirm it is level and securely mounted before proceeding.
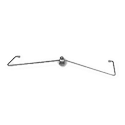
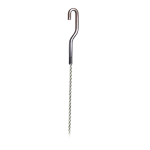
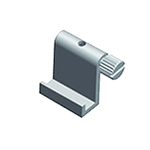
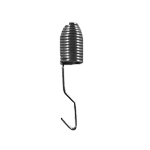
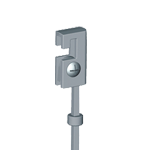
Step 4: Insert Cables or Rods
-
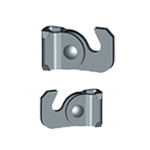
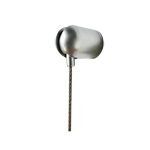
Insert cable or tension fittings into the rail channel.
-
Let cables drop straight down.
-
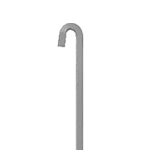
Attach your hook to the cable
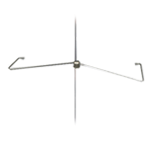
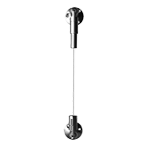
Step 5: Hang and Adjust Art
-
Hook your artwork to the Cable or Rod Hooks
-
Slide hooks vertically to your desired height.
-
Easily adjust or reposition as needed without touching the wall.
? Pro Tips for Success
-
For large pieces or high-traffic areas, use stainless steel cables for added strength.
-
Match the rail’s finish (white, silver, black) to your ceiling for a clean look.
-
Use dual rails (top and bottom) for floor-to-ceiling tension displays.
-
Always confirm anchor strength when hanging heavy artwork.
✅ Summary Installation Table
| Step | Task | Tools Needed |
|---|---|---|
| 1 | Mark ceiling & layout screw holes | Tape measure, level |
| 2 | Drill and insert anchors | Drill, anchors |
| 3 | Mount Sky Rail to ceiling | Screws, screwdriver |
| 4 | Attach cables or rods | Cable kits, tension hooks |
| 5 | Insert Hooks | Cable hooks, art pieces |
? Explore Systematic Art’s Video Resources
For visual instructions, visit the Systematic Art Video Library for future demos and advanced configurations.